How can we help you? Get in touch with us
Hand Tools
|
K-kit |
 |
|
Starter Box, glue box & channel opener |
 |
|
K-kit tools and consumables |
 |
|
Sample-loading tools |
 |
|
K-kit gluing tools |
 |
|
Tool Box Accessories |
 |
|
Consumables |
 |
|
K-kit Tool Set |
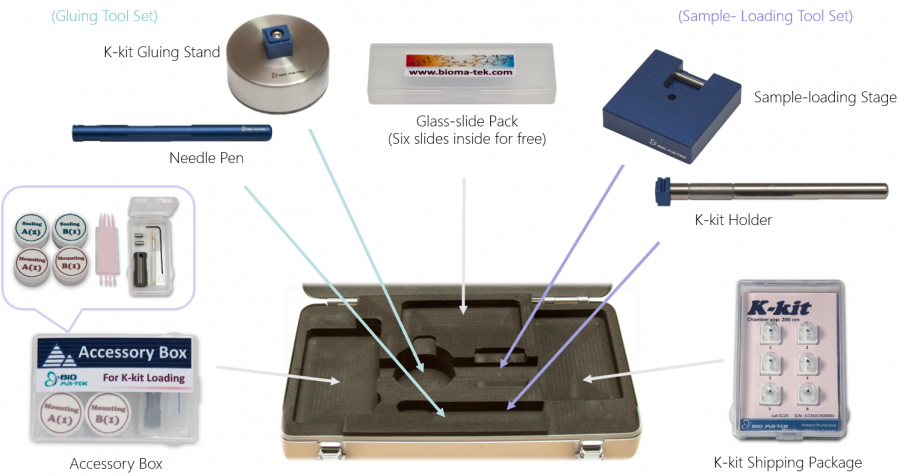
Each toolset includes K-kit Holder, Loading Stage, Needle Pen, Gluing Stand, Channel Opener, sealing glue, mounting glue, glass slides and replacement parts.
-
Tools are optionally available in a Tool Set or ordered individually. The glues are also available from original manufacturers.
- The figures are for illustration purposes. The tools you order can be different in color and/or from minor design changes.
|
Tool Set for Sample Loading |

1. K-Kit Holder
 |
|
2. Sample-loading Stage
 |
|
 |
|
|
Tool Set for K-kit gluing |

1. Needle Pen
 |
|
- It is important to keep the needle free of residue glue. Please wipe the needle clean right after each use. It will be practically impossible to clean the needle once residue glue on it cures.
- The needle held in place in the pen by a set screw on the side of the pen. Replacement needle and a small Allen key are provided with each Needle Pen. The needle is sharp. Please handle it with care.
- The replacement steps for a new needle, please refer to the below video.
How to replace the needle from the Needle Pen?
2. Gluing Stand
 |
|
 |
|
|
Other Hand Tools |
1. Channel Opener
 |
|
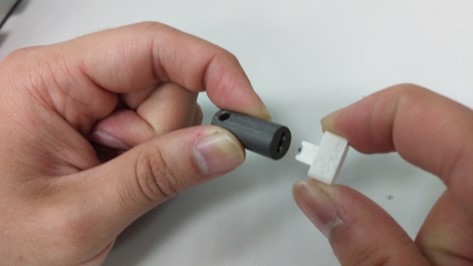
How to use Channel Opener:
 |
|
 |
|
 |
|
 |
|
 |
|
 |
|
- The channel opener has a self-guiding slot and a mechanism to break off the tips before the carrier top plate reaches the end.
- To avoid K-kit being damaged, the exerting force doesn’t go beyond 500gf (around 5N).
- You may hear a click near the end when the tips break off.
- Regarding the details about how to remove the channel tips by using a tweezer, please link to the webpage of 【User Guide】 for it.
If it is just with one side of the tips broken off, there’re two remedial ways as described below for consideration.
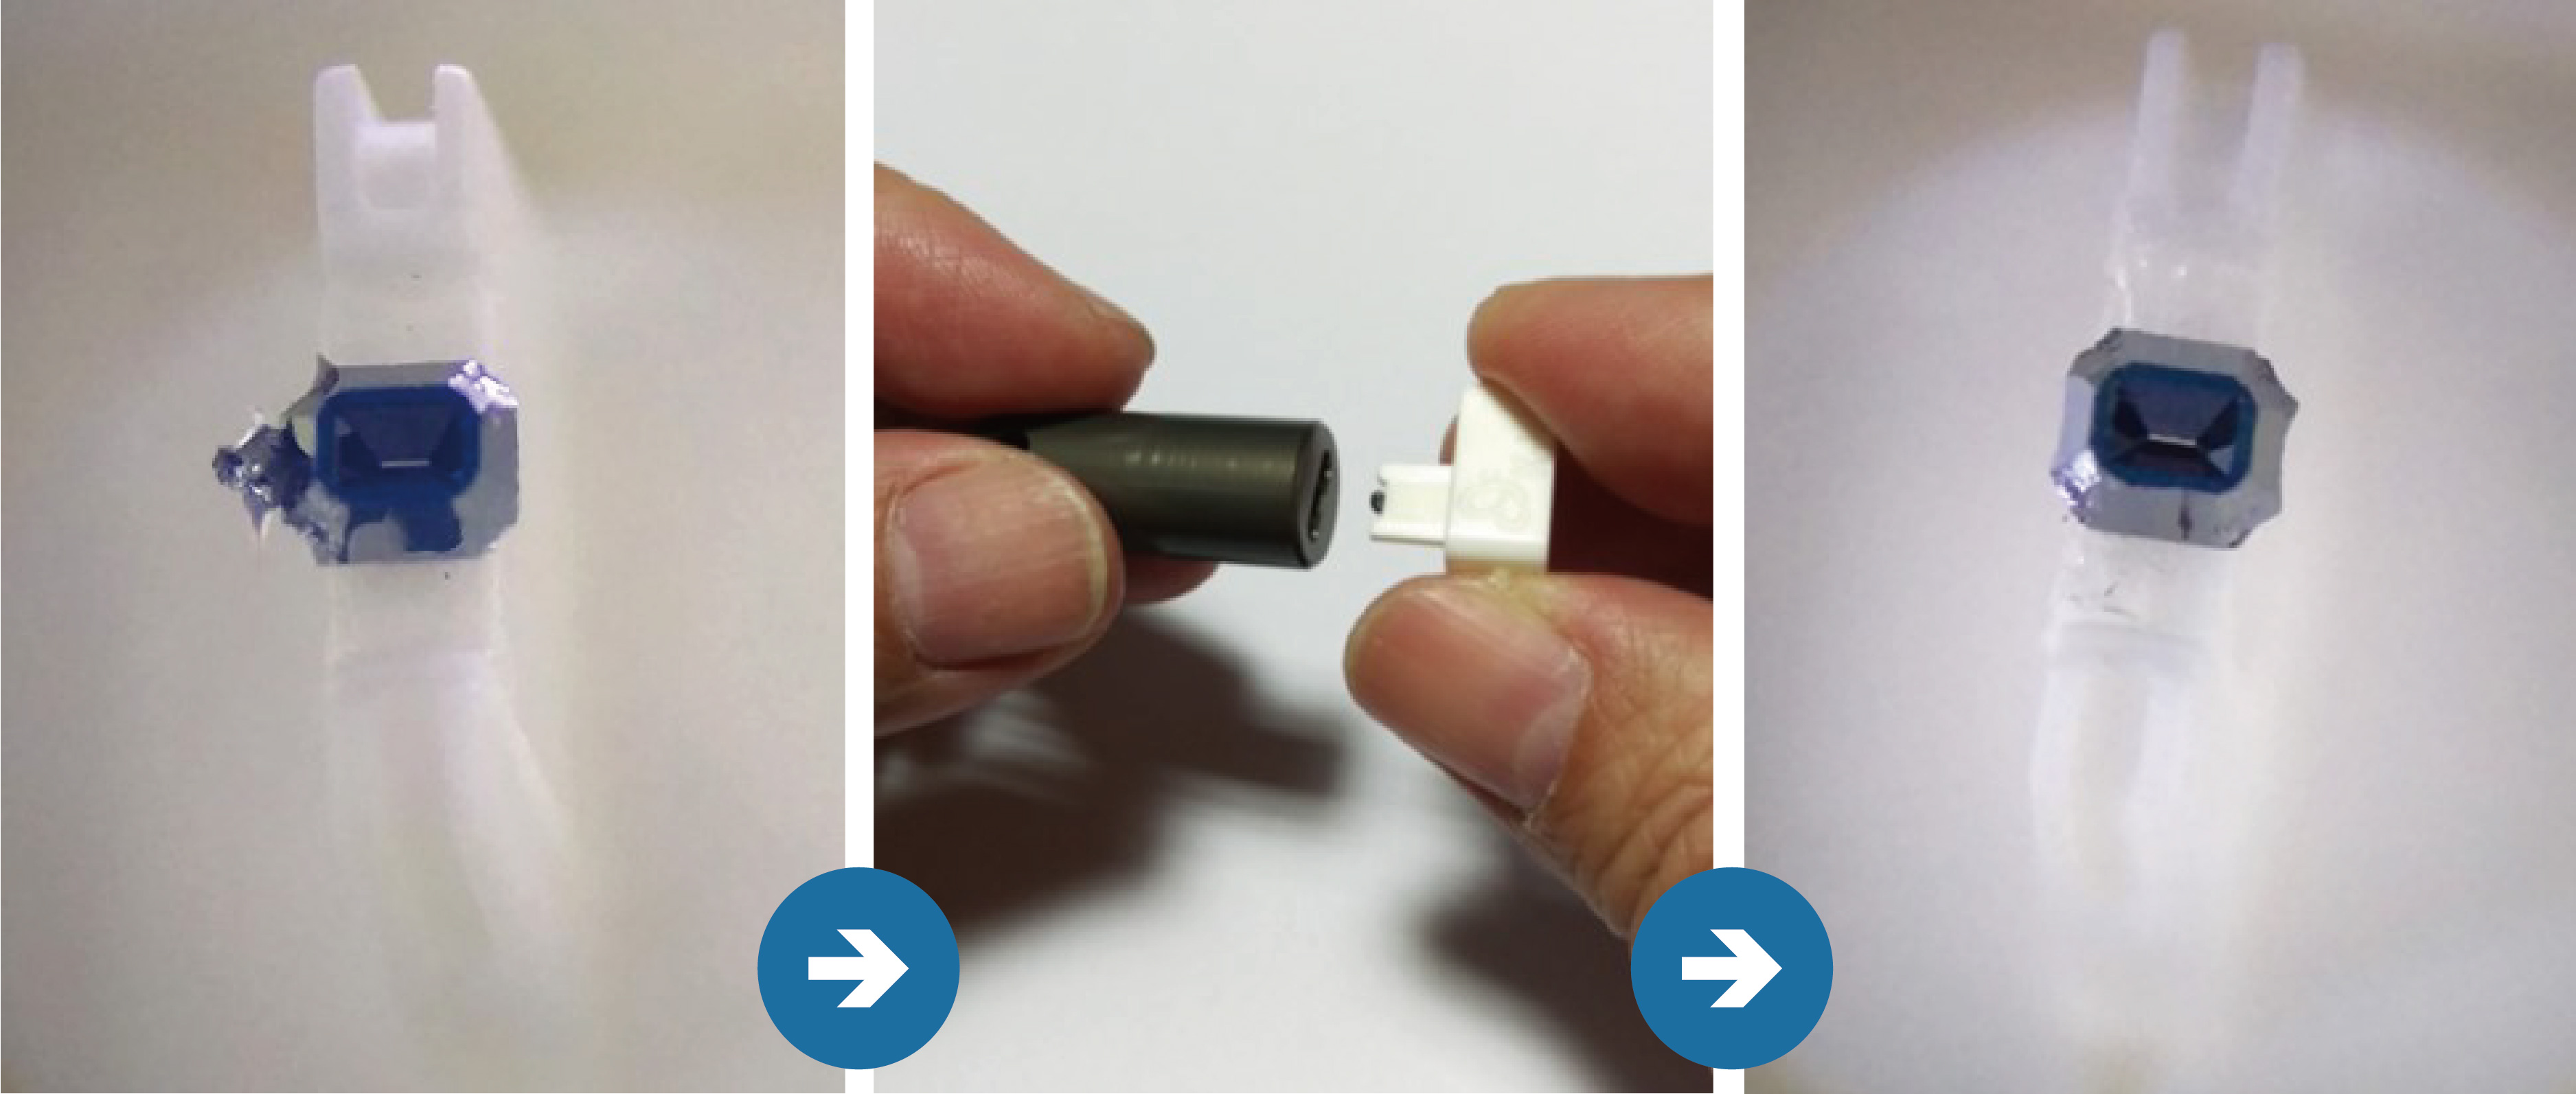
Plan A | If the K-kit is still located at the same place, without perceptibly moved or skewed in position, one may consider using the channel opener again to break off the rest of tip. |

Plan B | If the K-kit has been shifted the position, one should take down that K-kit from the carrier, and stick it to the adhesive tape on the glass slide. Then, remove the rest of tip with tweezers. It’s suggested by using two pairs of tweezers at the same time for the operation, one for fixing and the other for cutting. After it has been done, put the K-kit back in the same place as the carrier. |
If there’s any damage or abnormal change observed in the K-kit structure after using the channel opener, please contact us or our distributors for seeking help. (In order for speeding up our issue analysis and liable replacement procedures, if possible, please provide the failed k-kit or some clear pictures about it to us at that time.)
2. K-kit Glues & Accessories
 |
 |
- The amount of glue in a starter box is prepared for about 50 applications. This is based on the estimation that each time the Sealing glue B is typically taken out about 20mm3 (3 x 3 x 2mm). The actual number of use varies. (Reminder: Torr Seal mixing volume ratio A:B = 2:1)
- Copper grids are shipped along with K-kits, they are not included in the starter box.
- Reuse of tools is encouraged. Please wipe clean the tools immediately after each use to avoid glue curing on them. Once cured, the glue would be hard to remove.
 |
|
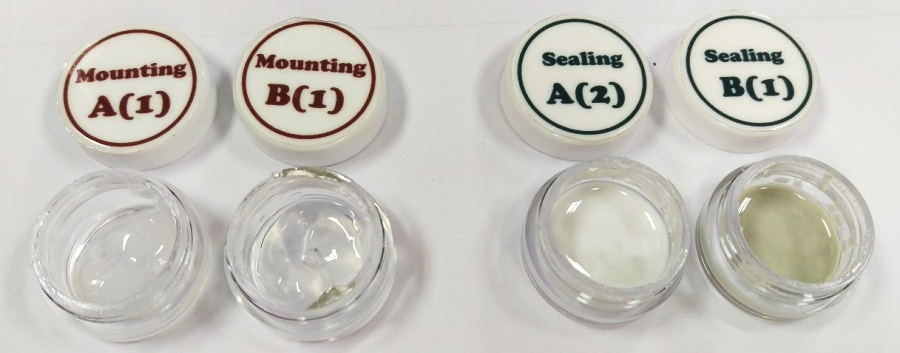
Mounting glue (red label) |
Sealing glue (blue label) |
※ Please be careful not to cap back with the wrong vial cover, after the glues are used.
|
Starter Box |
The starter box is an optional item, made available solely for the convenience of our users. The content in the box is all commercially available products, some are repackaged, and grouped in a box. Frequent users are recommended to acquire them directly from original suppliers. The photographs are for illustration purposes only. The product you have purchased may differ from the images shown here. Bio MA-Tek reserves the right to modify the design without prior notice.
|
Accessory Box |
In the toolset, spare parts are located in the Accessory box, including a spare needle, an Allen key for Needle Pen, and two Liquid Stages.
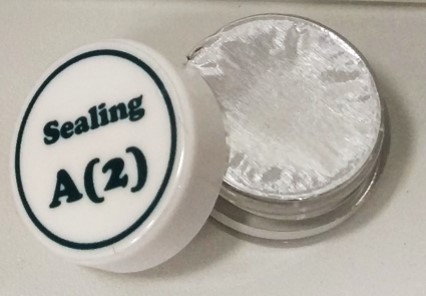 |
If the lid of the glue vial can not be opened, when the first time using it
|
- The cap-adhered issue may occur sometimes. It’s caused mainly due to the glue somehow being stained and dried on the cap or the bottle mouth of that vial when it suffers an improper or bumpy treatment during the shipping process. If you encounter this problem, please contact us or our distributors for seeking help or a replacement for it.
- In order to improve the cap-adhered issue for the first use by customer, the glue vial has been sealed with a tin foil on the bottle mouth for shipping since 1st March of 2018. (As shown on the left side)
 |
Regarding the use and preservation of the K-kit glues
|
- When picking out the glue for use from the glue vial, please note that to keep the cap and the bottle mouth of that vial free attached to any glue. It’s possible to cause the cap-adhered issue if there’s glue carelessly remained.
- After peeling off the sealed foil, the glue vial must be stored face-up. If not so, it’s also easy to result in the cap-adhered issue, due to the glue getting flowing inside.
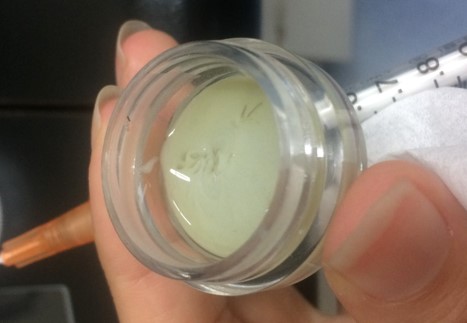
- After a certain time of storage, the sealing glue of Torr Seal sometimes will be observed with a thin oil-like layer on the glue surface. It is normal and does not affect any gluing application. If so, please give a stirring first to let it mix evenly before use. (As shown on the right side)
|
Toolbox |
K-kit toolbox comes in silver and vermillion colors (or cranberry burgundy color), due to the parts supplier issue, currently, only the Silver color of toolboxes are for sale.

|

Size:W275 x D150 x H50 (mm) |
|
The toolbox houses full tool set, including K-kit holder, sample-loading stage, needle pen, K-kit gluing stand, recommended glues, glass slides, and some replacement parts. |
|


